Spring and Your Sump Pump
As winter fades and temperatures rise, spring thaw brings melting snow, saturated soil, and one big question for homeowners: Is your sump pump ready? Your sump pump is your basement’s first line of defense against flooding—especially during the heavy rains and snowmelt that come with spring. Taking time now to inspect and maintain your system can prevent costly water damage later. Here’s a complete guide to checking your sump pump system after the spring thaw.

Why Spring Thaw Is Hard on Sump Pumps
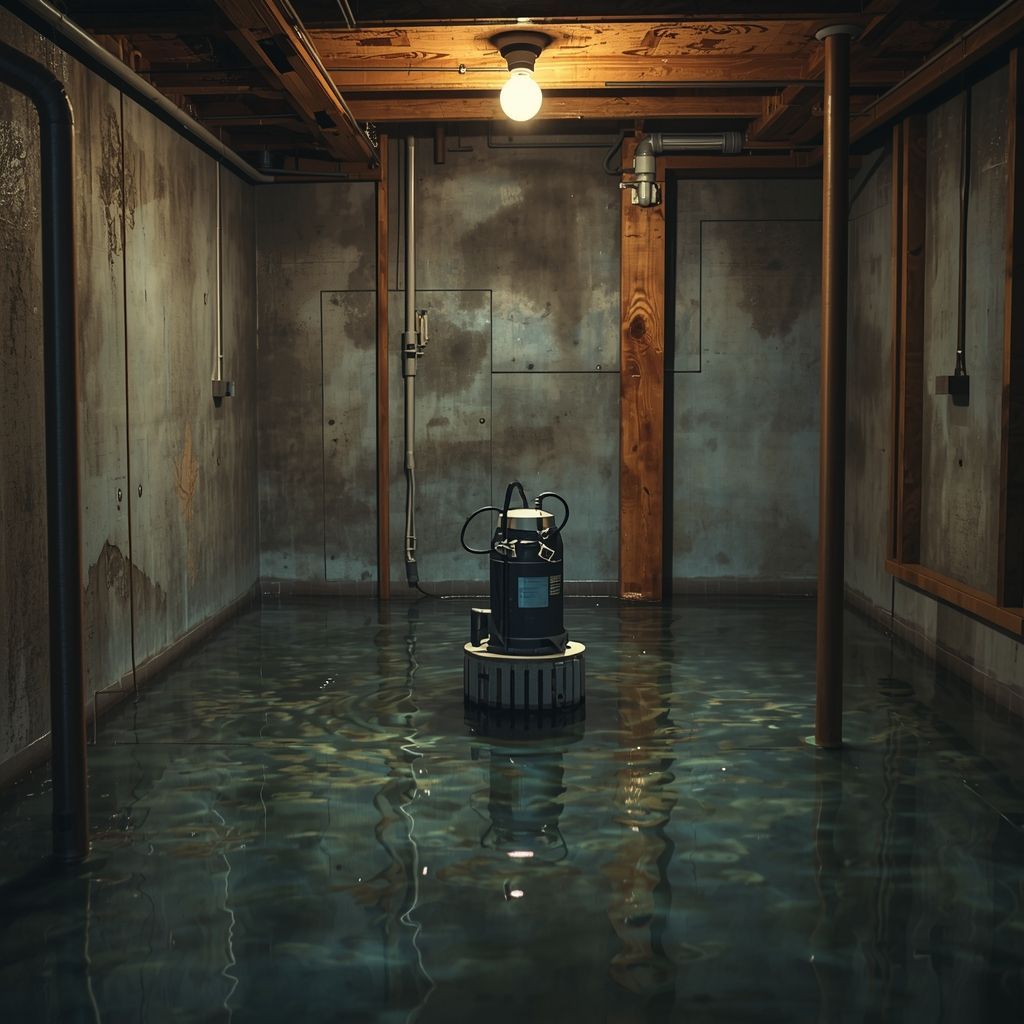
When snow and ice melt, the ground becomes oversaturated. Add spring rainstorms to the mix, and water tables rise quickly. Your sump pump works overtime during this period to redirect groundwater away from your foundation.
If your system isn’t functioning properly, you could face:
- Basement flooding
- Mold and mildew growth
- Foundation damage
- Ruined flooring and belongings
A quick inspection now can save thousands in repairs.
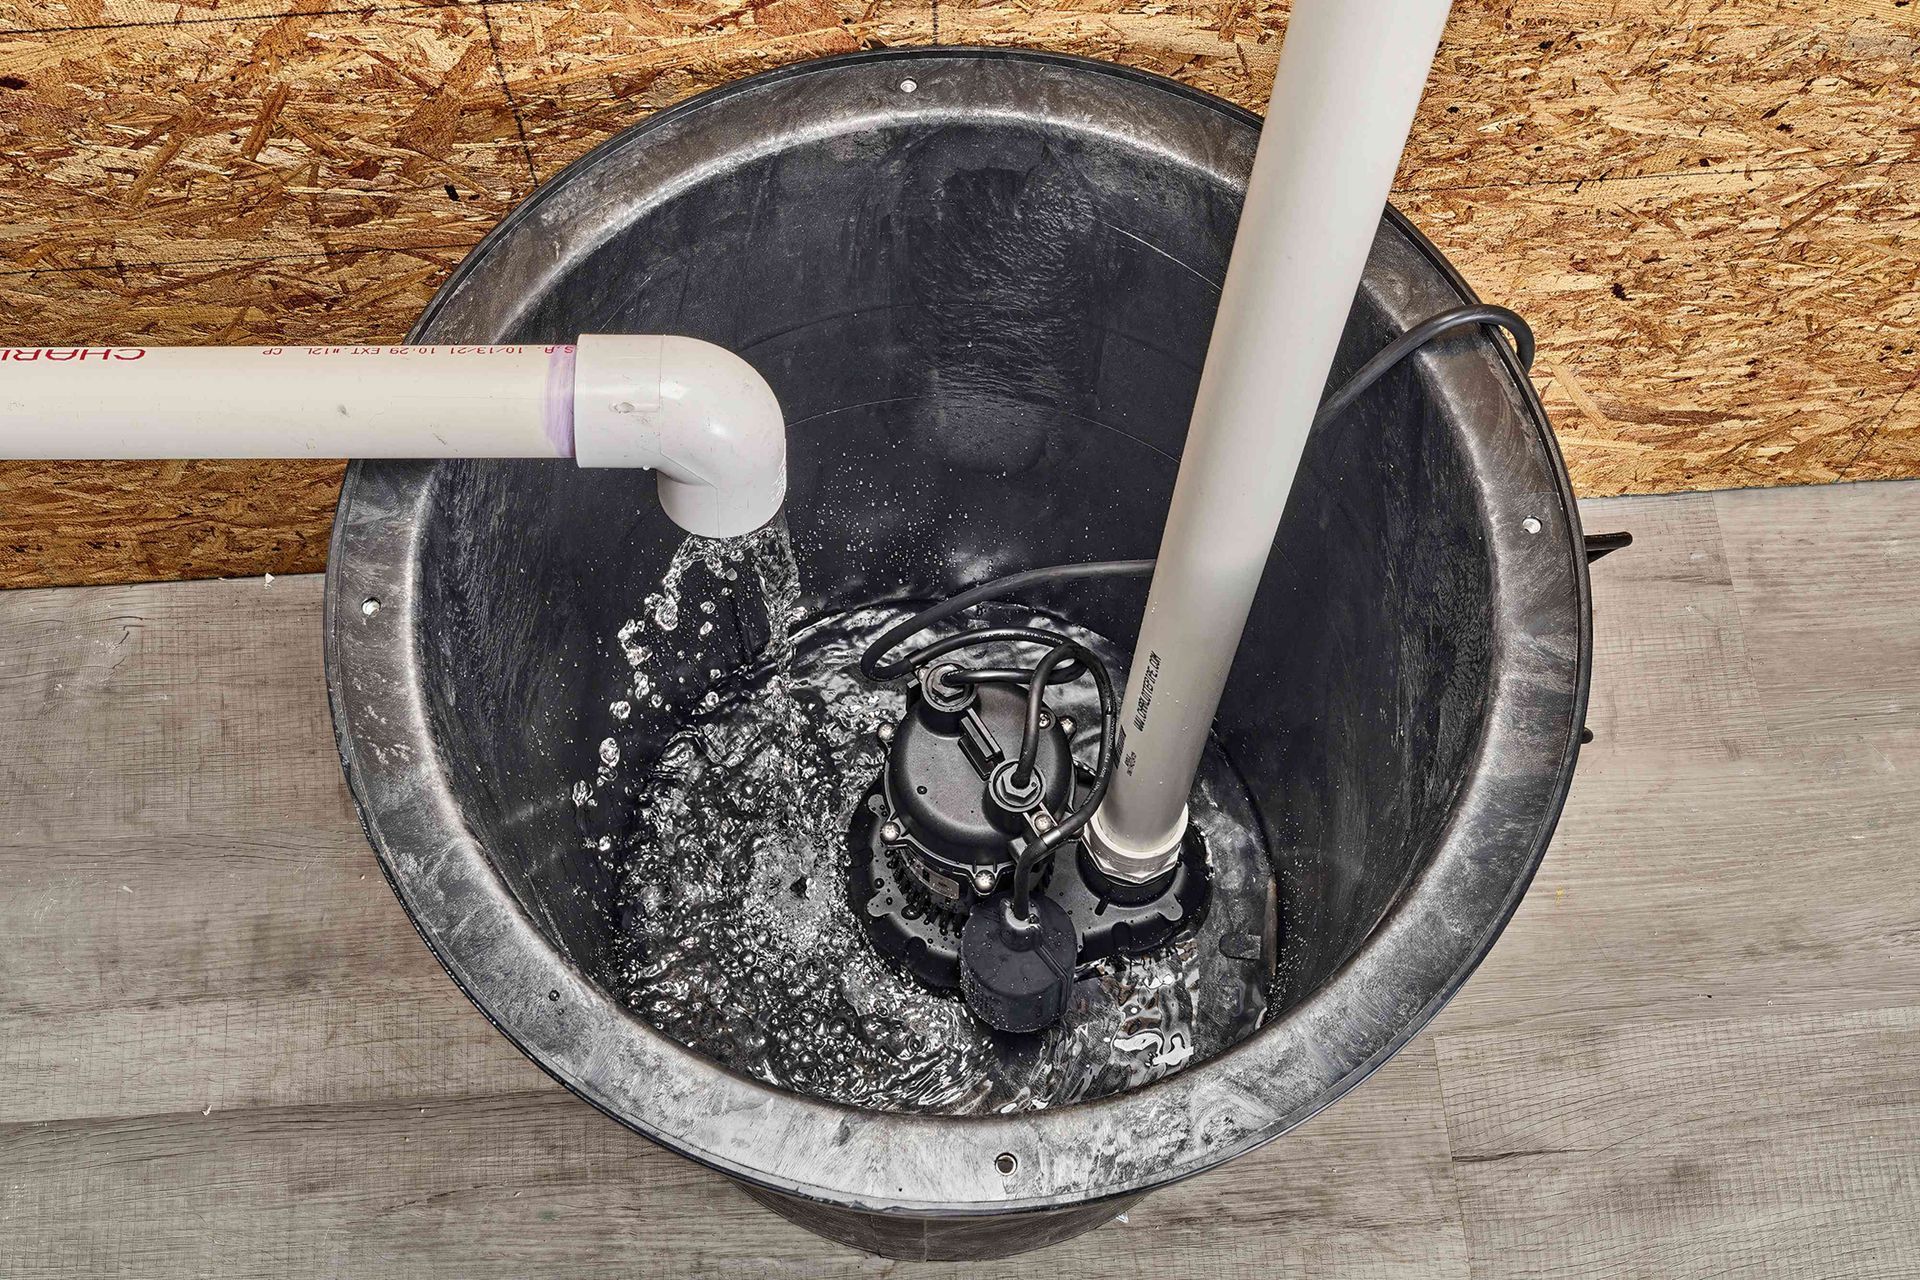
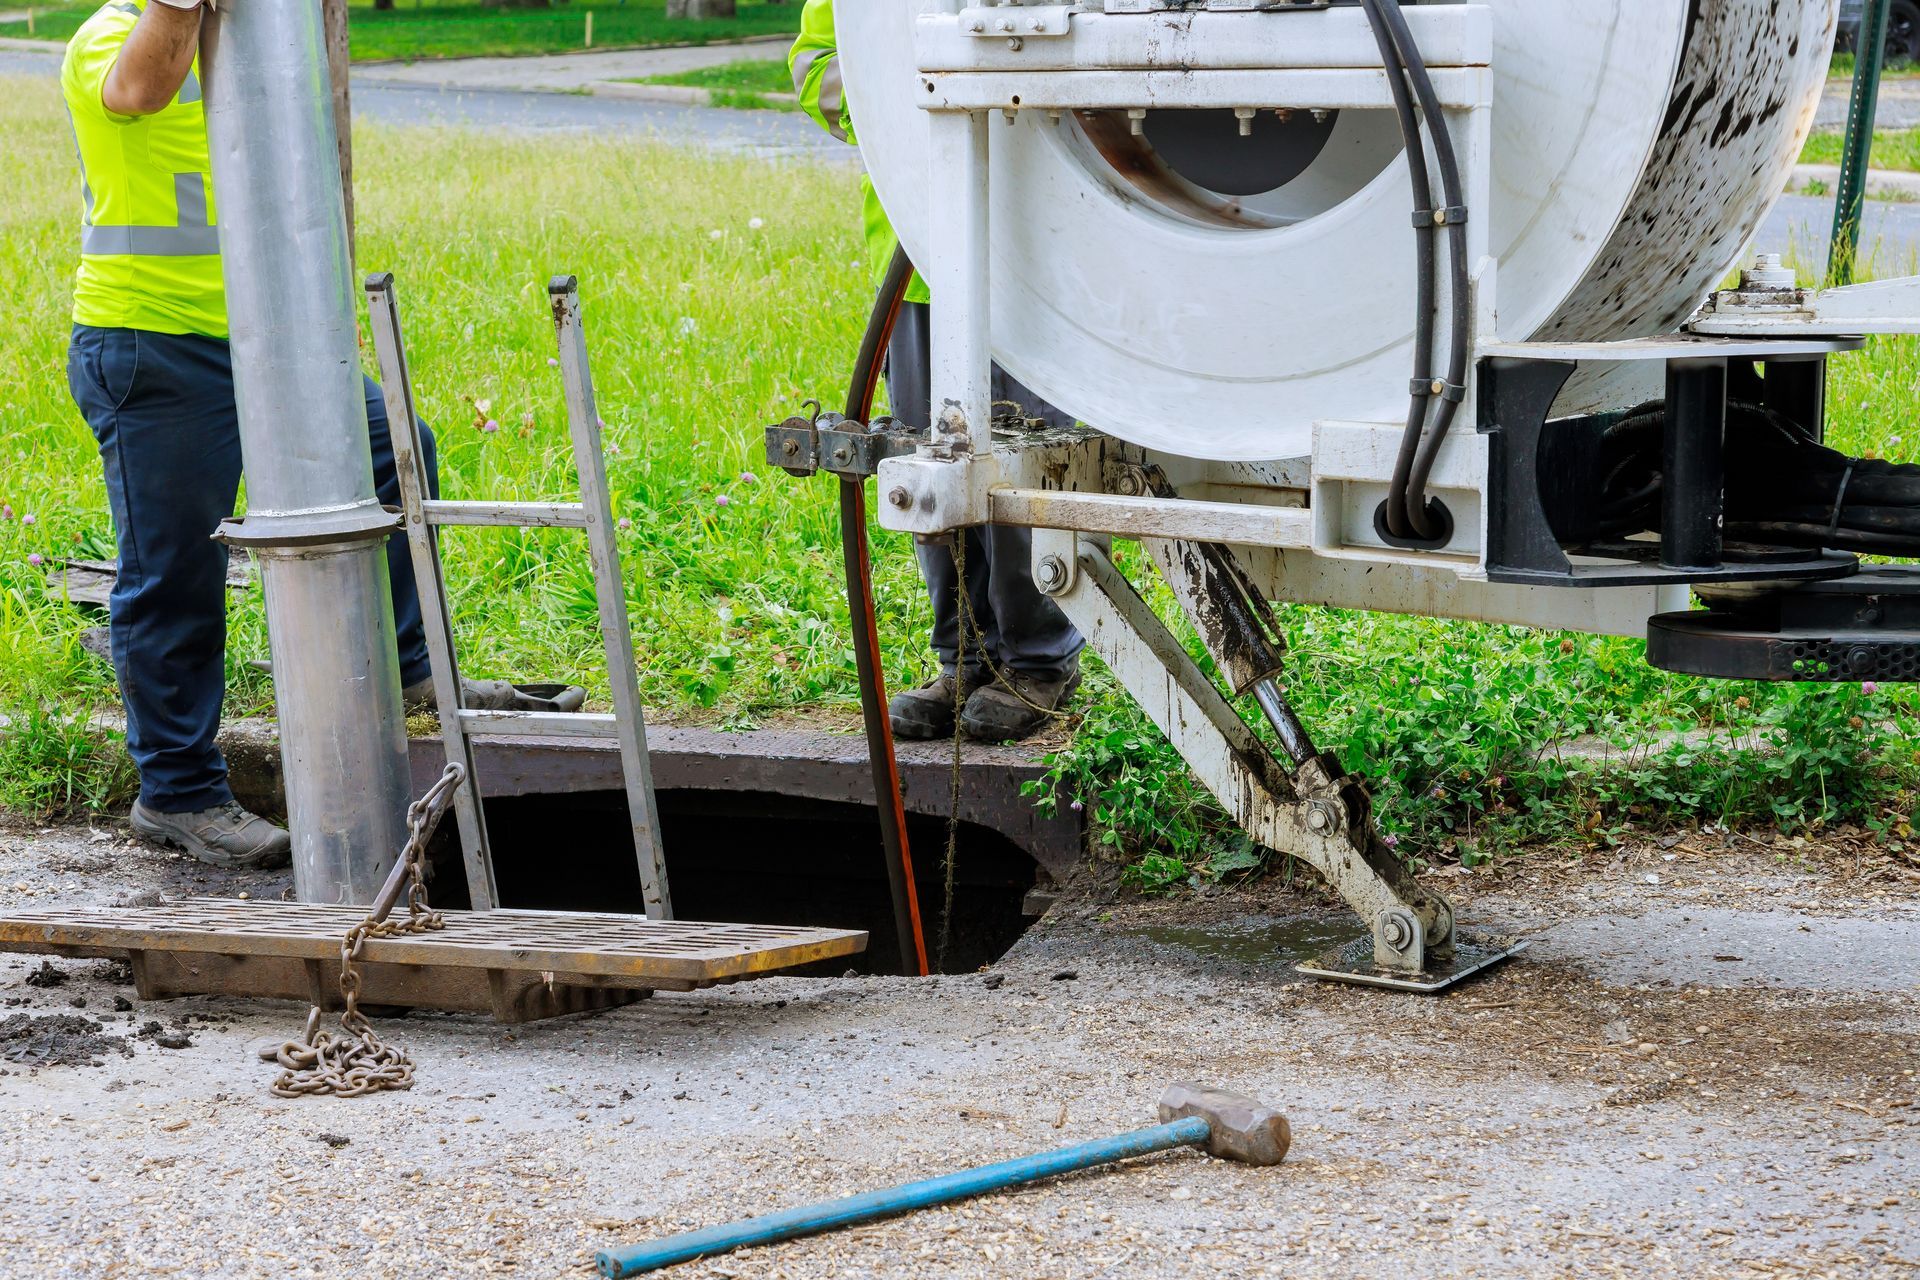
Step 1: Inspect the Sump Pit
Start with a visual inspection.
- Remove the sump pit cover.
- Check for debris such as mud, gravel, or small stones.
- Make sure the pump is standing upright.
- Confirm the float moves freely and isn’t obstructed.
Debris can jam the float switch, preventing the pump from activating when water levels rise.
Step 2: Test the Pump
This is the most important step.
- Slowly pour a bucket of water into the sump pit.
- Watch to see if the float rises.
- Ensure the pump activates and removes the water.
- Confirm it shuts off properly once the water level drops.
If it doesn’t turn on, runs continuously, or makes unusual noises, it may need repair or replacement.
Step 3: Check the Discharge Line
Your sump pump pushes water through a discharge pipe that carries it away from your home.
- Ensure the pipe is not clogged or frozen (late-season frost can linger).
- Confirm the water is draining at least 10–20 feet away from your foundation.
- Look for cracks or loose connections.
A blocked discharge line can cause water to flow back into the pit.
Step 4: Inspect the Check Valve
The check valve prevents discharged water from flowing back into the sump pit.
- Make sure it’s installed in the correct direction.
- Listen for excessive rattling.
- Check for leaks or corrosion.
A failing check valve can cause your pump to work harder than necessary.
Step 5: Test the Backup System
Spring storms often cause power outages—exactly when your sump pump is needed most.
If you have:
- A battery backup system — Check the battery charge and connections.
- A water-powered backup — Confirm water pressure and valve function.
If you don’t have a backup system, spring is a great time to consider installing one.
Step 6: Clean and Maintain
Routine maintenance extends the life of your sump pump.
- Clean the pit annually.
- Remove sediment buildup.
- Replace aging batteries (typically every 3–5 years).
- Consider replacing pumps older than 7–10 years.
Professional inspections can also help catch issues you might miss.
Signs Your Sump Pump May Be Failing
Watch for these warning signs:
- Strange grinding or rattling noises
- Frequent cycling on and off
- Visible rust
- Excessive vibration
- Musty odors in the basement
If you notice any of these, it may be time to call a professional, like Dan Parr.
Spring thaw is one of the most demanding times of year for your sump pump system. A simple inspection and test now can provide peace of mind before heavy rains arrive. Think of it as seasonal insurance for your home—because when it comes to basement flooding, prevention is always better (and cheaper) than repair. If you’re unsure about your system’s performance, scheduling a professional inspection can help ensure everything is ready to handle the season ahead. Stay dry, stay prepared, and give your sump pump the attention it deserves this spring.