Steps to Winterize Your Home's Sump Pump
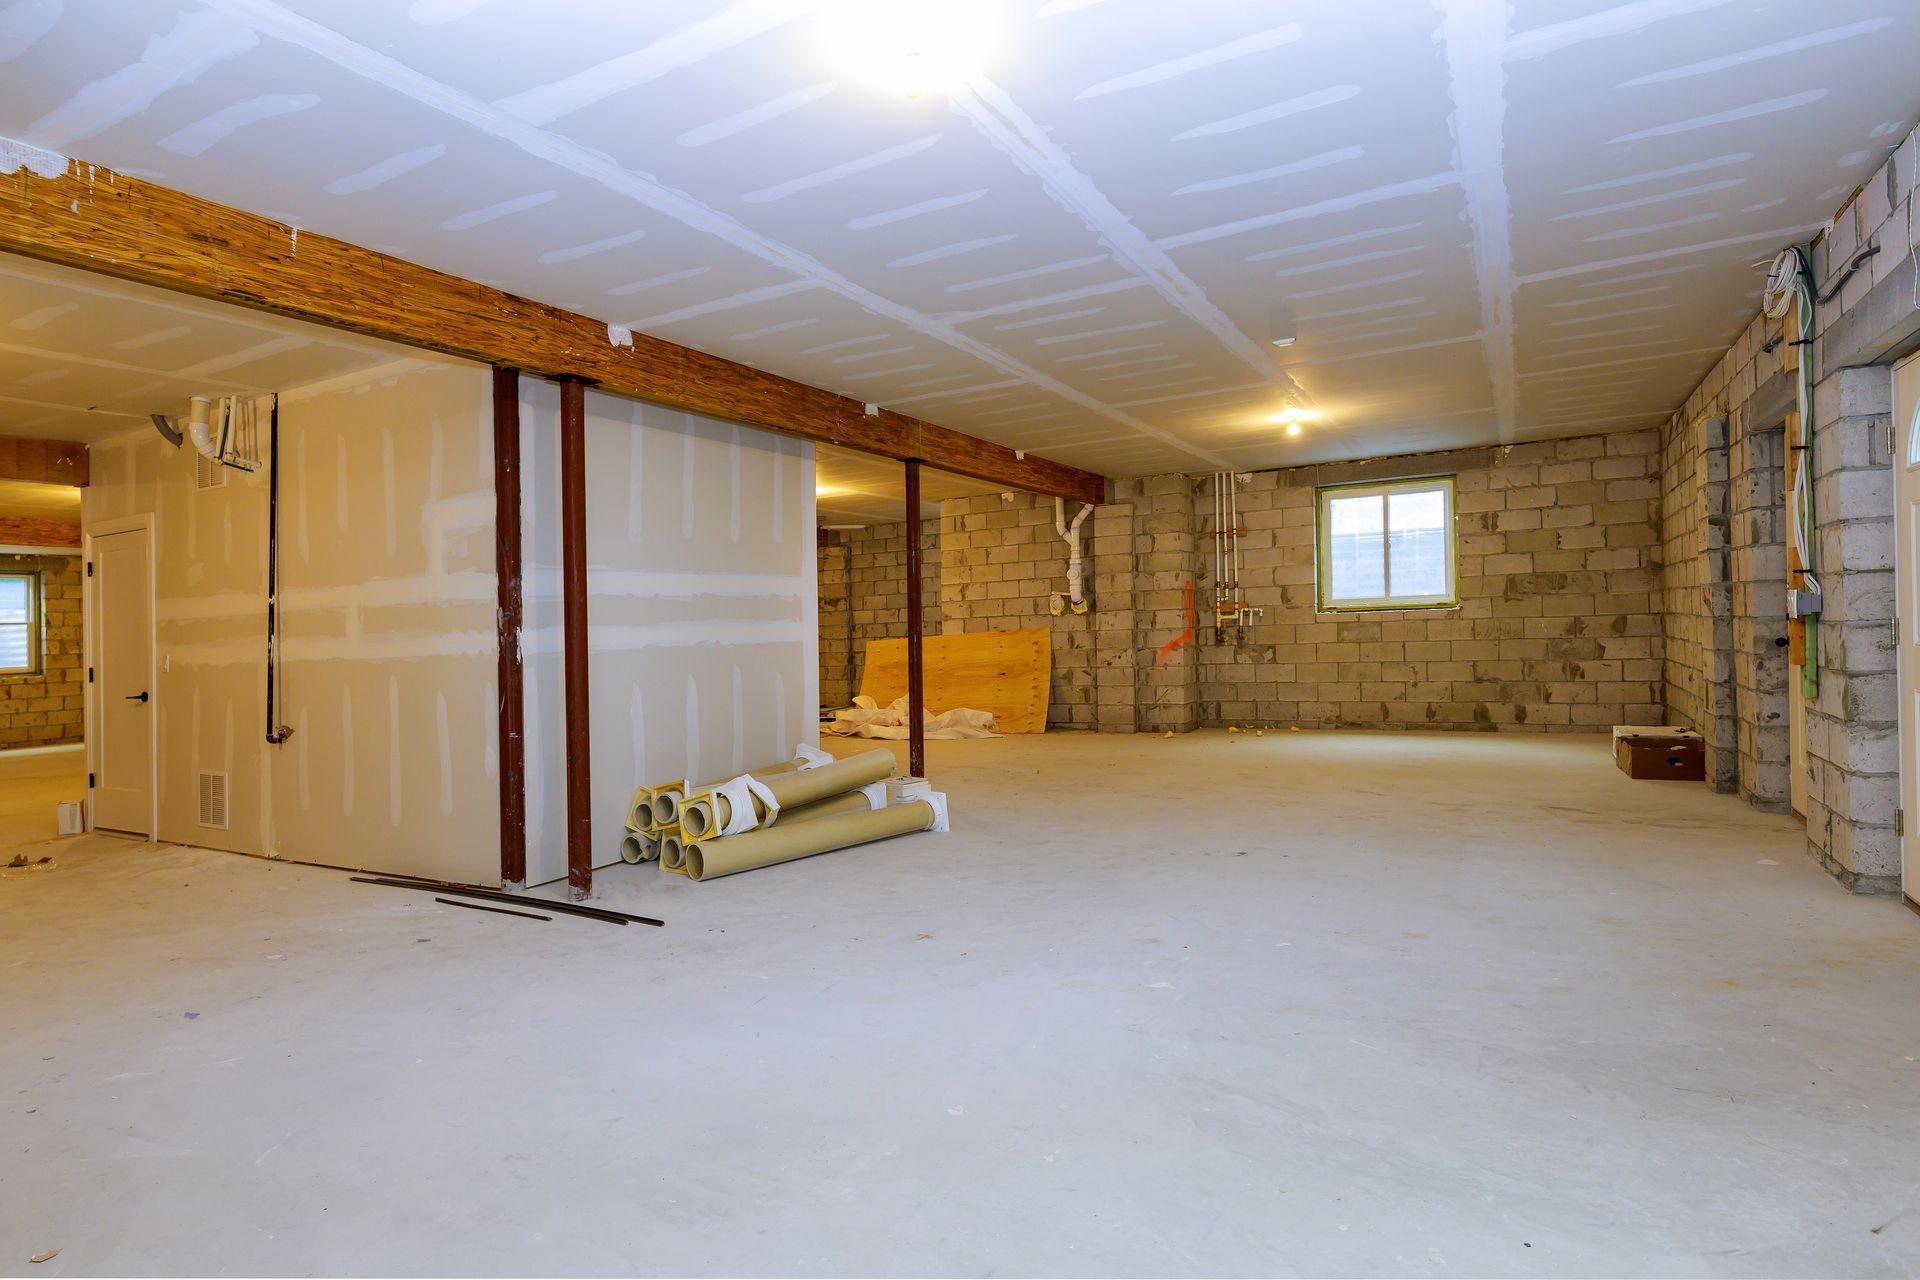
As the seasons change and colder weather approaches, homeowners begin preparing their properties for winter. You might check the furnace, insulate pipes, and seal drafty windows. However, one often overlooked component is the sump pump. This crucial device protects your basement from flooding, but it can fail if not properly prepared for freezing temperatures. A frozen sump pump can lead to significant
water damage and expensive repairs.
Taking a few preventative steps now can save you from a major headache later. This guide will walk you through the essential measures to winterize your sump pump, ensuring it remains operational when you need it most. We will cover inspection, hose management, insulation, and testing to keep your home safe and dry all winter long.
1. Inspect and Clean the Sump Pump
Before the first freeze, a thorough inspection and cleaning are essential. Over time, dirt, gravel, and other debris can accumulate in the sump pit, potentially clogging the pump's intake and preventing it from working correctly. A clean pump is a reliable pump.
Start by unplugging the sump pump from its power source. You can then remove the pump from the pit to get a better look. Clear out any mud, stones, or other debris from the bottom of the pit. Once the pit is clean, inspect the pump itself. Look for any visible signs of wear, rust, or damage. Check that the float switch, which activates the pump, moves freely without obstruction.
2. Disconnect and Drain the Discharge Hose
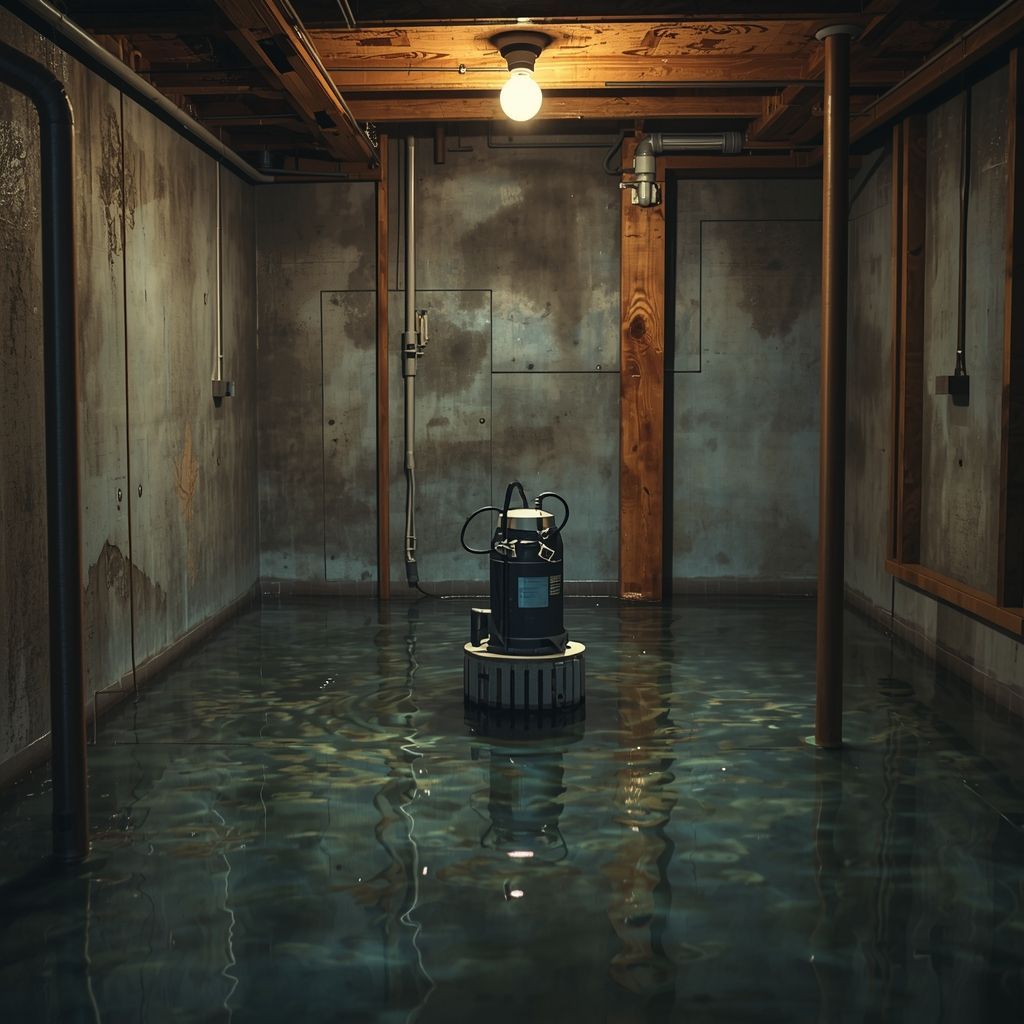
The discharge hose is the most vulnerable part of your sump pump system in winter. This pipe carries water from the pump out of your home. If water remains in the hose when temperatures drop below freezing, it will turn to ice, creating a blockage. When the pump tries to activate, the blocked pipe will cause water to back up, potentially burning out the motor or flooding your basement.
To prevent this, disconnect the discharge hose from the pump. Carry it outside and drain it completely by tipping it downward. Once empty, store the hose in a dry, protected place like a garage or shed until spring. This simple step is one of the most effective ways to prevent winter-related sump pump failures, especially if you live in an area with minimal risk of basement flooding during the colder months.
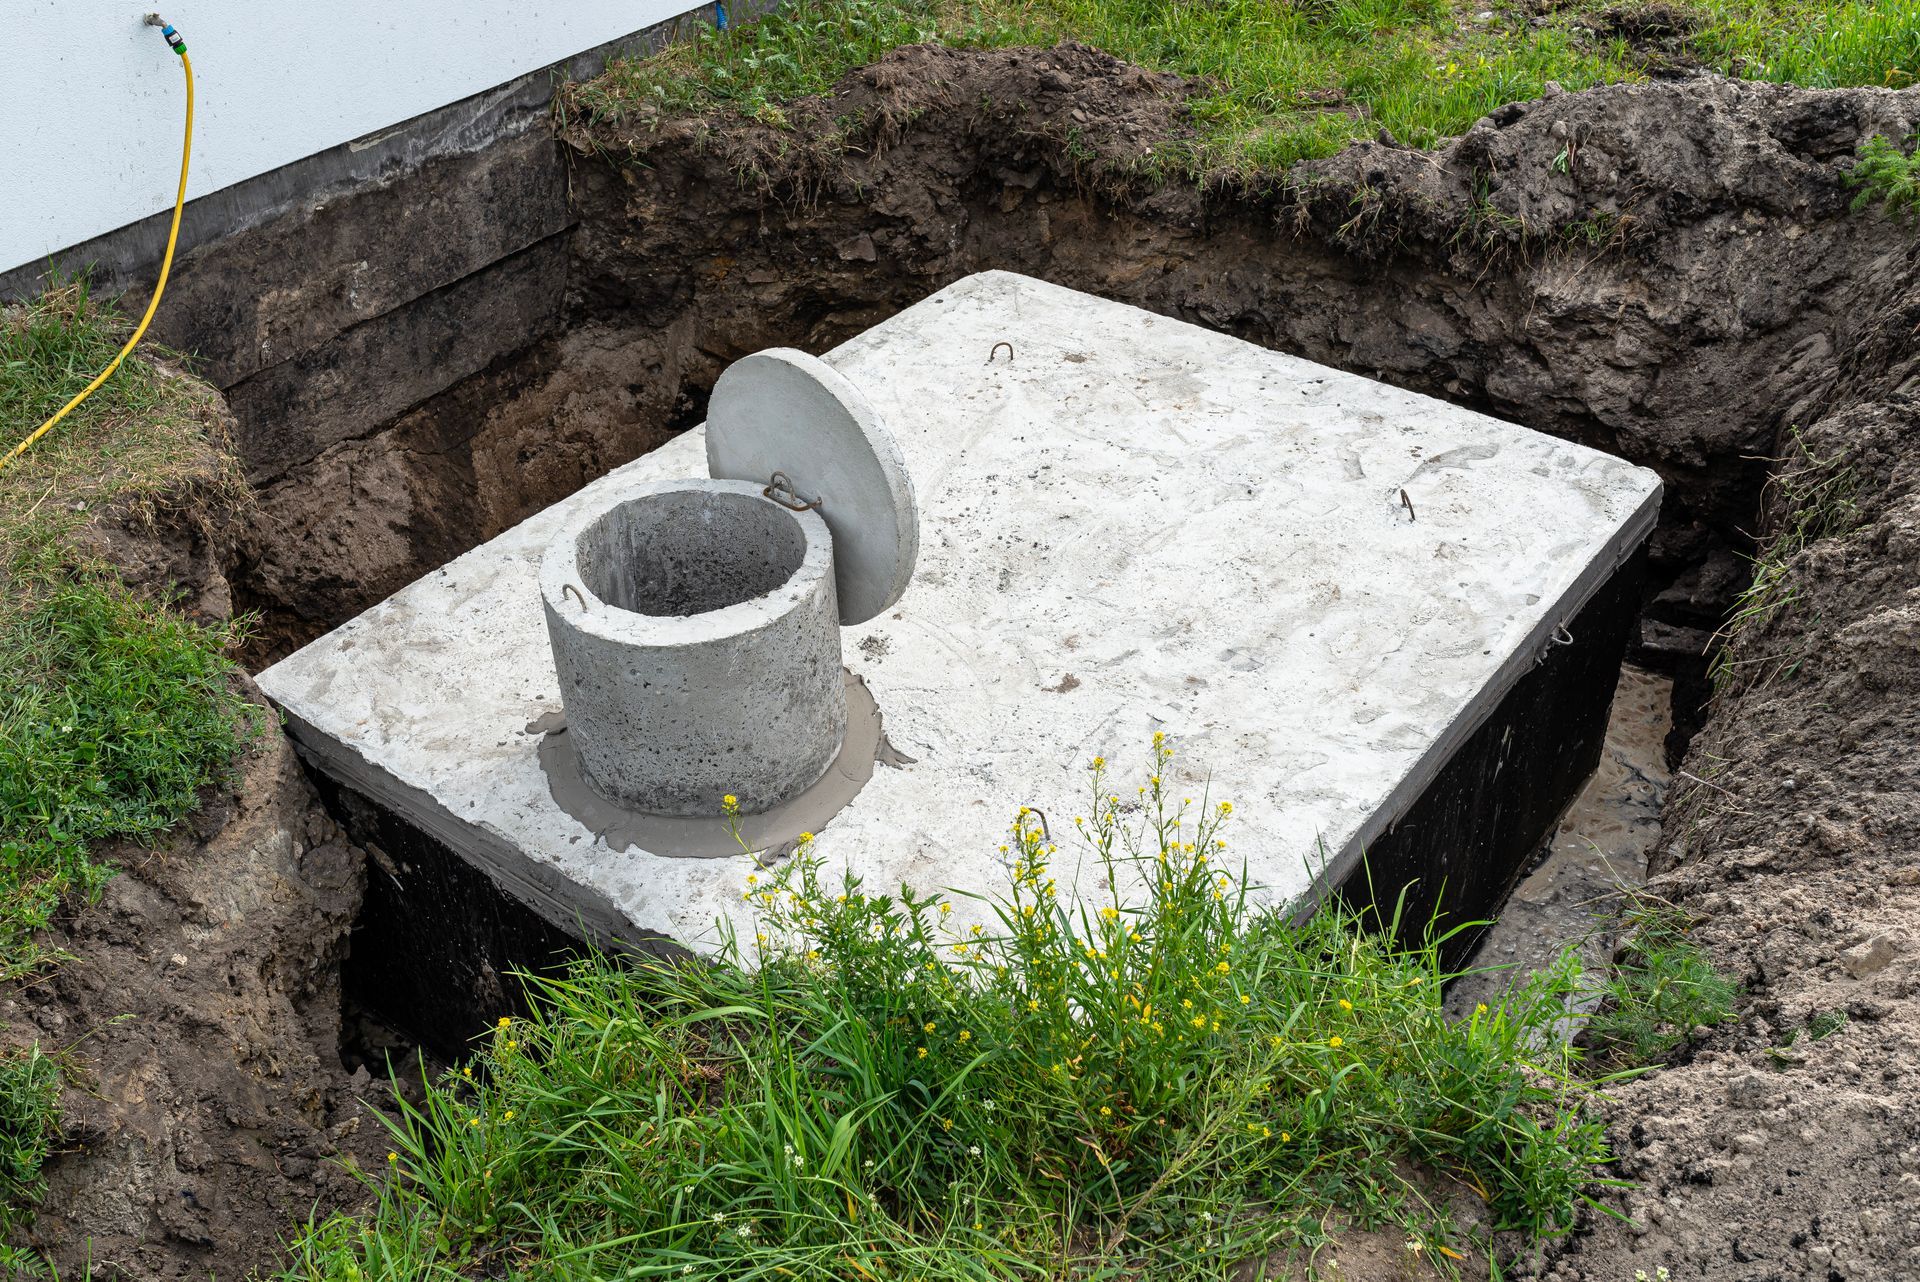
3. Install a Freeze-Resistant Discharge Line
For homes in areas where melting snow or winter rain still poses a flooding risk, keeping the sump pump operational is necessary. In this case, simply disconnecting the hose is not an option. The solution is to install a freeze-resistant discharge line.
Instead of a flexible vinyl hose that can easily hold water, consider a rigid PVC or ABS pipe. This pipe should be installed with a gentle, continuous downward slope away from your foundation. This angle ensures that gravity pulls all the water out of the pipe after the pump shuts off, leaving nothing behind to freeze. You can also purchase specialized freeze-resistant hose attachments that allow water to drain
from the line even in sub-zero temperatures.
4. Check the Backup Power Source
Winter storms often bring power outages, which is precisely when you might need your sump pump the most. A heavy, wet snowfall followed by a rapid melt can saturate the ground, and without power, your primary pump is useless. This is why a reliable backup power source is non-negotiable.
Most backup systems use a marine-grade deep-cycle battery. Before winter arrives, test your backup system thoroughly.
Ensure the battery is fully charged and holding its charge correctly. Check the battery terminals for corrosion and clean them if necessary. Many backup systems have a test function that simulates a power outage. Use it to confirm that the backup pump kicks on as it should. If your battery is more than a few years old, consider replacing it as a preventative measure.
5. Add Insulation
Insulation provides an extra layer of defence against freezing temperatures. Your sump pump system, particularly the discharge line, can benefit from being insulated. Even if your basement is heated, the area where the discharge pipe exits the house is exposed to the cold.
Wrap the exposed portion of your discharge line with foam pipe insulation or heating tape. You can find these materials at any local hardware store. This helps protect the pipe from freezing, especially during sudden cold snaps. If your sump pit is located in an unheated crawl space or garage, you can also place an insulated cover over the pit to help trap residual warmth from the ground.
6. Test the Pump
After cleaning, re-installing, and insulating your sump pump, the final step is to test it. You need to be certain that everything is working correctly before you pack it up for the season or rely on it through the winter.
Testing is simple. Fill a large bucket with water and slowly pour it into the sump pit. As the water level rises, it should lift the float switch and trigger the pump. Watch to make sure the pump activates smoothly and efficiently removes the water from the pit. Listen for any unusual noises, like grinding or rattling, which could indicate a problem with the motor or impeller. If the pump turns on and drains the water as expected, you can be confident it's ready for winter.
7. Monitor Regularly
Winterizing your sump pump isn't a "set it and forget it" task. It's a good practice to check on your system periodically throughout the winter, especially during extreme cold spells or after heavy precipitation. Make a point to look at the outdoor portion of your discharge line. Ensure it hasn't become buried in snow or blocked by ice, as this will prevent water from exiting. After a power outage, confirm that your primary
pump is working again. A quick check every few weeks provides peace of mind and allows you to catch any potential issues before they become emergencies.
By following these seven steps, you can protect your sump pump from winter's harsh conditions and ensure your home stays protected from water damage. A little bit of preparation now can prevent a disaster later.